Pages

Showing posts with label recipe. Show all posts

Wednesday, April 9, 2014

Recipe: The Ultimate Macaroni and Cheese

A few years ago, when the Hubs and I first moved in together, I was still in college.  I remember our first Christmas season as a couple. Really, it's one night in particular that sticks out in my mind. It was right after Thanksgiving and I was studying for finals.  We didn't have many left overs left, a ham bone with bits of ham still on it, some pasta, milk, and cheese. That is when the Hubs decided to make the most decadent macaroni and cheese we have ever had. It is the ultimate.

Ingredients:
1 onion thinly sliced
2 cups cubed ham
Olive oil
Kosher salt
4 tbsp butter
4 tbsp flour
1/2 tsp paprika
1/4 tsp dried mustard
Dash of tumeric
3 cups ham stock
1 cup half and half
8 oz shredded cheddar cheese
8 oz shredded provolone
Parmesan 
Pank bread crumbs
16 oz elbow macaroni


If you have a left over ham bone, carve as much meat away from the bone as you can. Throw it in a pot of water and make it boil - this is your ham stock. You can buy ham stock if you have no bone to boil.


Cube your  ham that you have carved, or dice it. Whatever size you cut is really a personal preference.


Preheat your pan over medium heat on the stove. Thinly slice your onions.  My mandolin made quick work of this, with few tears. Mandolins come in handy, but knifes work just as well. Mince some garlic too.


Add olive oil to coat the pan, and then add the onions and garlic.


Caramelize, caramelize, caramelize! Keep an eye on the heat and the onions. They can easily burn. You can add sugar to help it come along faster, but this is where I usually sprinkle kosher salt on the onions to help them sweat more.  Once caramelized, remove the onions and garlic from the pan and set aside. Sear diced ham until edges are a little brown (you may need more olive oil for this). 


Add 4 tablespoons of butter, and 4 tablespoons of flour.  Add your spices. Whisk to form the rue.  Let the rue cook a couple of minutes, careful not to burn it. It will darken a bit more (it's hard to tell with the spices but it will). A rue is the base of a bechamel sauce. We are making a cheesy bechamel.


Add 3 cups of warm ham stock and whisk, whisk, whisk. You are looking to beat any flour lumps into submission. Add the half and half (it's okay if it's cold, the temperature is up from the warm ham stock), and keep whisking. Reduce to a low heat setting and shred your cheese.


Shred the cheddar cheese.


Shred the provolone.


Whisk the cheeses into the warm bechamel.


At this point, if your ham stock is at a roaring boil, go ahead and add your pasta and cook it. If you want your ham stock to cook longer, turn the cheese sauce down low. Once the pasta is ready, drain, and add to the cheese sauce, with the onions and seared ham.  Preheat your oven to 375 degrees.


Mix to combine.


Behold the cheesy, creamy goodness.


Oil a baking dish and spread the macaroni, cheese & ham mixture evenly into it.


Coat with Panko breadcrumbs and Parmesan cheese.


Bake at 375 for 20-30 minutes, covered with aluminum foil. Remove foil, and cook an additional 10 minutes until the crust has browned.


Remove from the oven and enjoy!


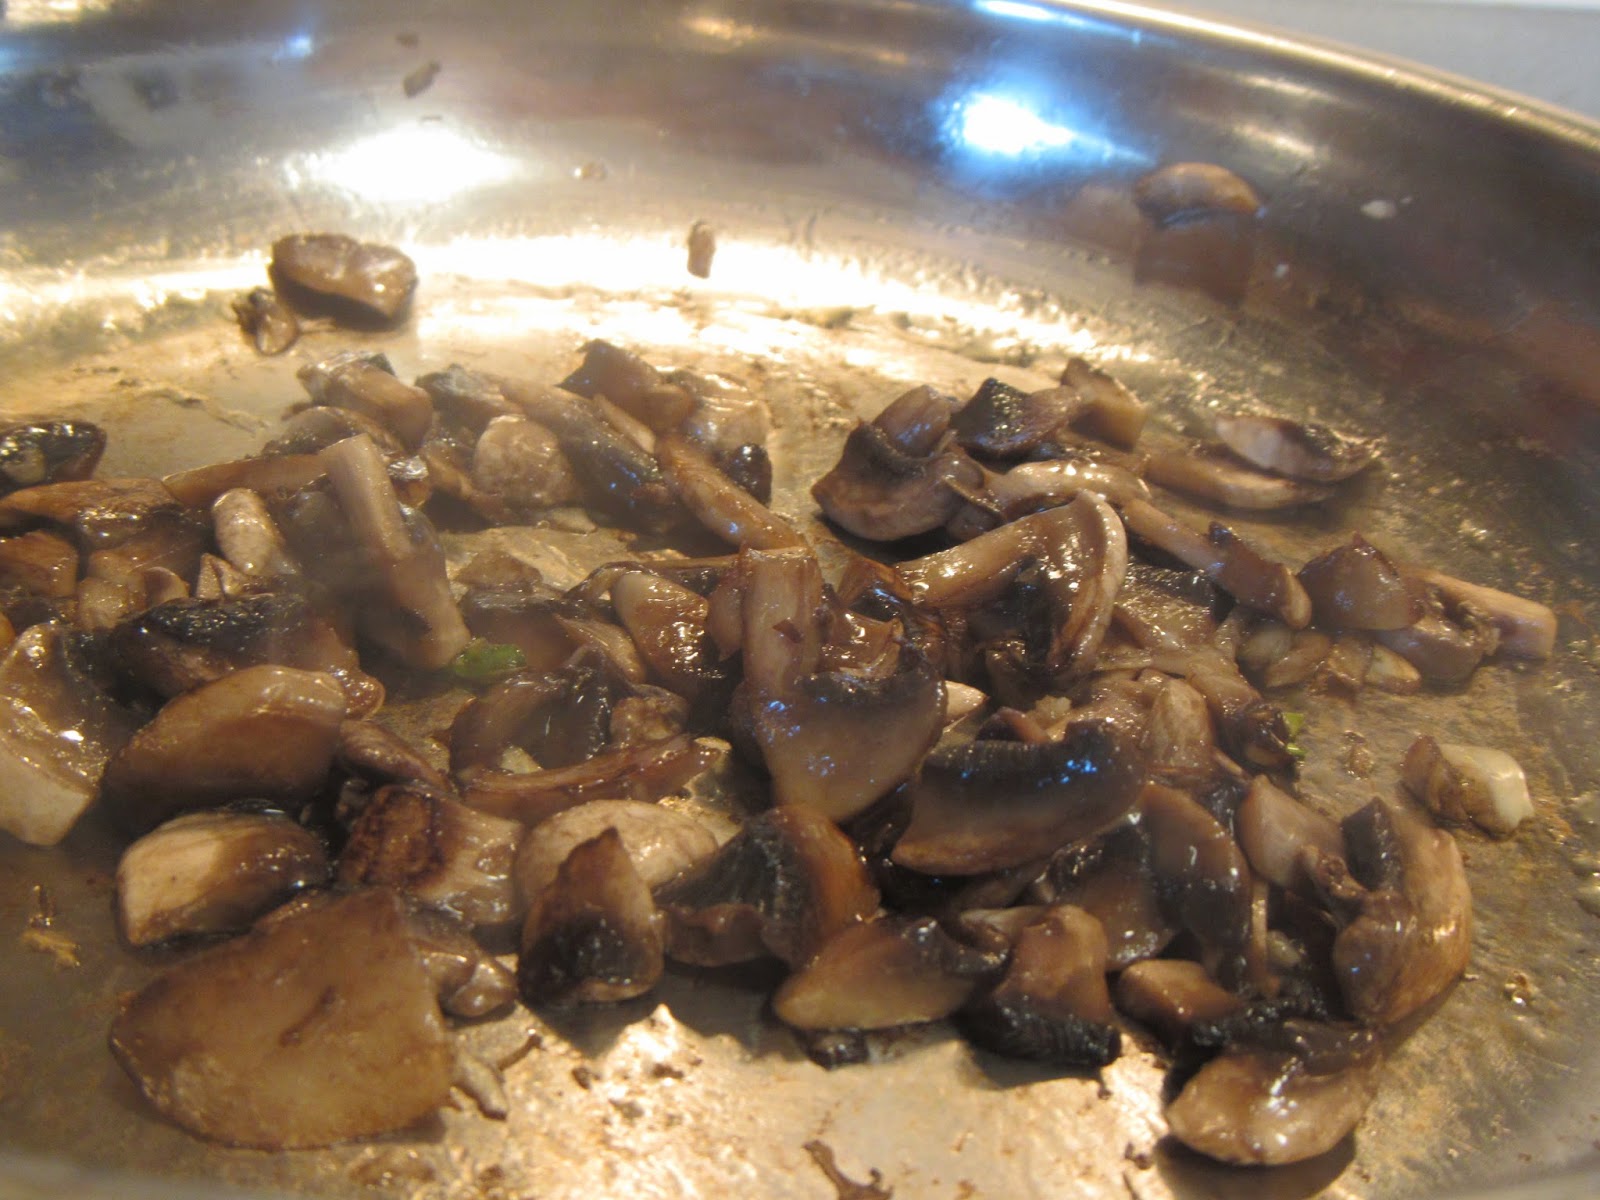
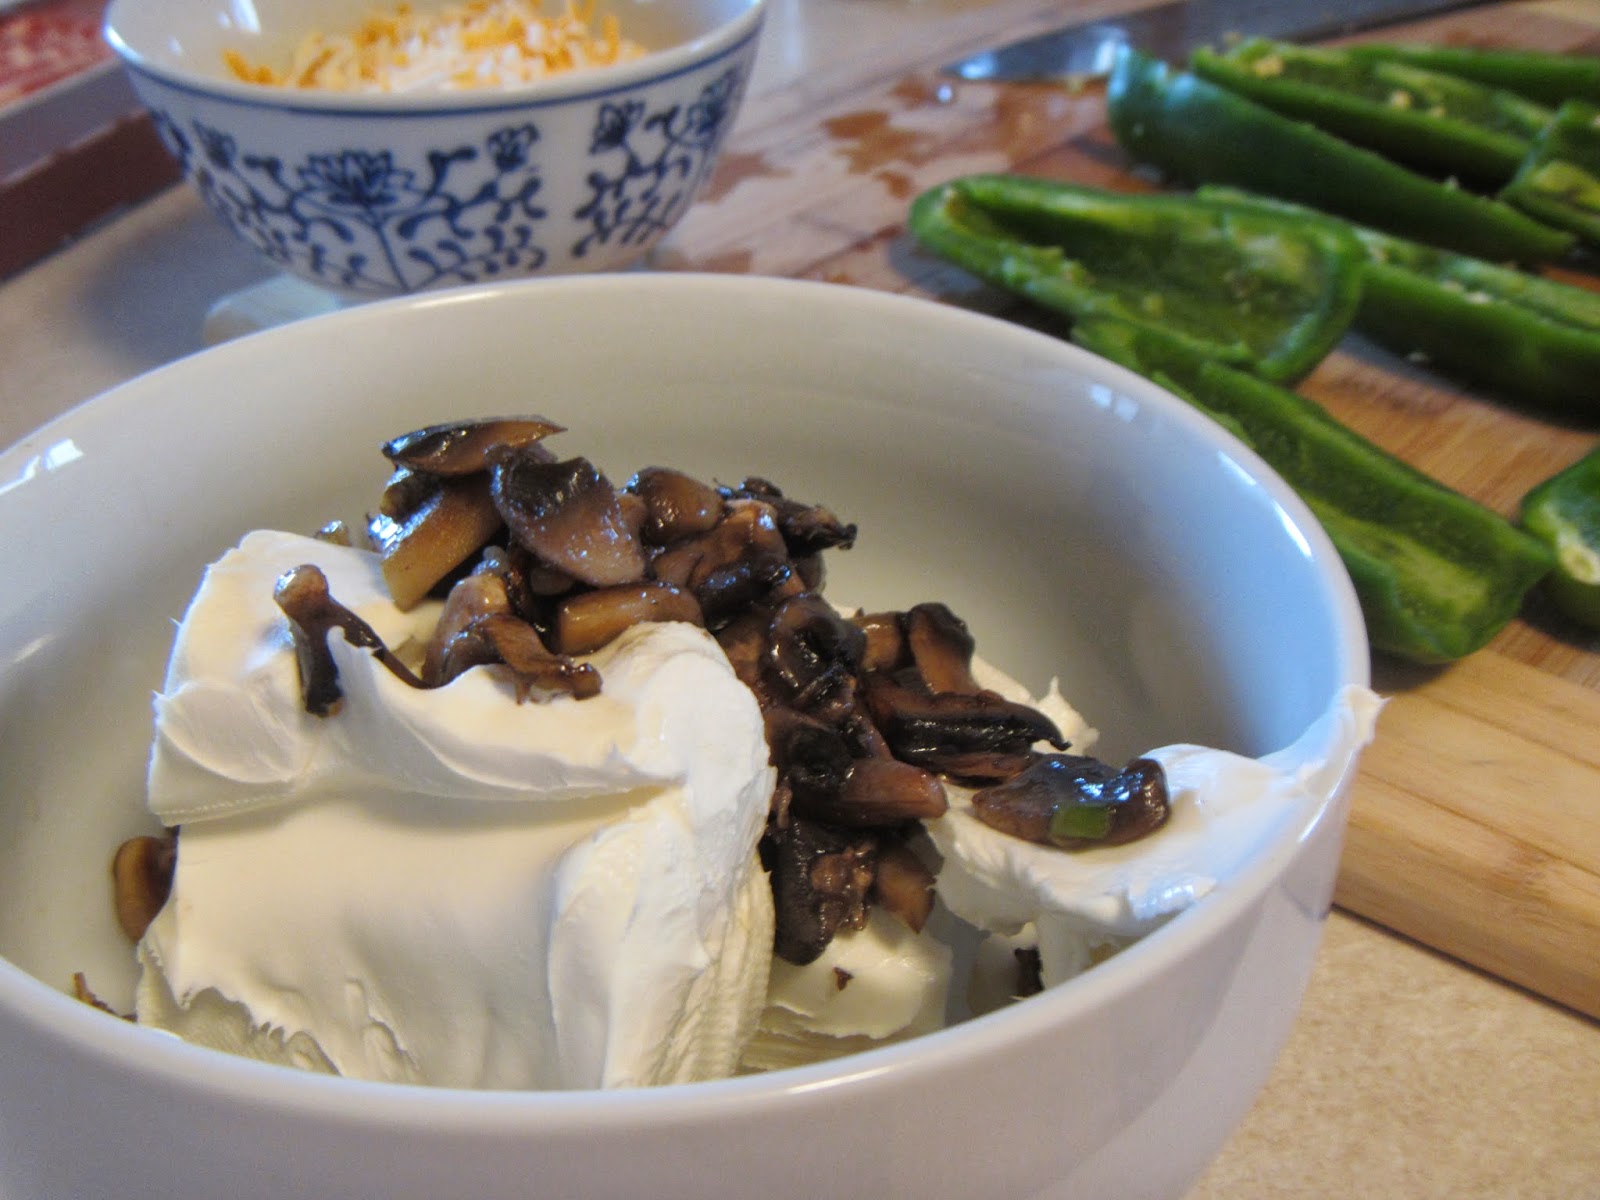
Mushrooms are a fantastic addition if you have them. The cheeses are also more of a preference.  I love cheddar, and I love how provolone melts. But cream cheese works just as well if you have it. And Gouda is flat out amazing.

Happy Eating!


Wednesday, March 26, 2014

Recipe: Egg and Cheese Barag

Growing up, I got to experience family recipes and a sense of heritage.  My mom's parents were farmers.  My grandmother farmed, but she also took care of the home. And it seemed like every time we went to Grandma and Grandpa's house she always had some type of cookie, or pastry, or cake made for my sister and I to eat.

Barags are an Armenian Pastry. Now, I don't know how "classic" this term gets because I think in my family, it's just a word we use for pastry, or rather bread pastries stuffed with something in like egg and cheese or sauteed onions, rahan (opal basil) and walnuts. The "r" is actually pronounced as a "d".

If you can't pronounce "barag", that is okay. You can call these "boats", because really they are like little canoes filled with an egg and cheese mixture and baked.

Ingredients:
1/2 of a prepared bread dough recipe or a loaf of frozen bread dough
3 eggs
1-2 cups of grated cheese
kosher salt and pepper to taste

Preheat your oven to 350 degrees.

Beat the eggs and add 2 cups of cheese. Grandma always used mild cheddar and Monterrey jack but a shredded Mexican blend works nicely too. Use whatever tickles your fancy. Add salt and pepper.

Divide tour dough into 4 or equal portions (about 6-8 inches in length), Form into a long log, and with your dough cutter or hands, shape out a hollow center.


Divide egg mixture into the center of each log. You can brush olive oil or cream over the bread to help golden in the cooking process.


Cook for 25-35 minutes, or until the egg mixture has solidified in the center of the bread and the bread crust has turned golden.  Cool for a few minutes, and enjoy. 

Recipes like this take me back to when I was a little girl, around family. It's nice when the food you eat can take you to places you miss.

Happy Eating!


Monday, March 24, 2014

Recipe: Peanut Sauce with Pork & Rice Noodles

Sometimes you have a lot of leftovers but you don't want to eat just leftovers.

Lately we have been making a fabulous pork shoulder roast.  But that's what Sundays are for right? A big brunch and a dinner that takes hours to cook while you lounge around, enjoying the rest of your Sunday.

What to do with all the leftovers before they can get boring and over-done? Make your own sweet and spicy peanut sauce and mix it all together with rice noodles, that's what!


Ingredients:
8 oz of rice noodles* prepared to the package instructions
1- 2 lbs diced pork (or chicken, or beef, ground meat, or tofu)
1 yellow onion, diced
1 clove of garlic, minced
Peanut Oil
3 tablespoons soy sauce
2 tablespoons rice wine vinegar
2 tablespoons brown sugar
2-3 tablespoons creamy peanut butter
1/4 teaspoon turmeric
1/8 teaspoon curry powder
Optional - a squirt of srirracha sauce or a pinch of red pepper flakes
kosher salt

In a large pan or wok, heat oil over medium heat. Add onions and garlic. Sprinkle with kosher salt.

Let cook until the onions are translucent, and have softened. You don't have to caramelize the onions, but I like mine to be caramelized because I look for that when I am layering flavors.

While the onions and garlic cook, dice your meat. If you are using fresh/raw meat, your cook times may increase but it's no big deal. If you haven't diced your left over meat, dice while the onions cook.

Once the onions have cooked down, add the meat and stir. Add the soy sauce**, the rice wine vinegar, the brown sugar, peanut butter, turmeric, and curry powder. Stir together - the heat helps the seasonings combine and form a thick, creamy, peanut-y sauce.  The turmeric and curry give this dish a gorgeous yellow color (think of all the little micro nutrients those spices will give ya!)


Once the meat is cooked through or heated through, add your noodles, and toss until everything is coated.

I usually plate this dish over a bed of romaine lettuce; it adds a soft crisp layer, and the warmth from the noodles and pork wilts the lettuce a bit, making it buttery in texture. You can also add other vegetables, baby corn, mushrooms, peas, you name it.

This dish is also good without the noodles. Just make the onion, meat, and seasoning mixture, and serve inside butter lettuce for a delicious appetizer, or entire meal.

Now you are thinking, what do I drink with this? A Riesling or Gewurztraminer would be ideal to me, but I don't see how a Sauvignon Blanc, or Pinot Gris could steer you wrong. 

Happy Eating!

*When preparing rice noodles, I typically boil a pot of water, and once it has reached a rolling boil, I dump it into a big bowl that has the dried rice noodles in it. Let the rice noodles soak up the water for 10-15 minutes, or until mostly soft. How is this different from regular pasta? Well, you are removing the cooking from the heat source. If you let the noodles sit too long, and then cook with the noodles, they virtually disintegrate into tiny little 1 inch pieces which are still edible. But really. Half the fun of eating whole noodles, is eating whole noodles, right? After 10-15 minutes, drain the rice noodles in a colander, and run under cold water to stop the cooking process. Set aside until you are ready to add to your main dish.

**I always use low sodium soy sauce, but use whichever you prefer.  The saltiness of this dish may vary based on that.


Wednesday, March 19, 2014

Recipe: Jalapeno Poppers

This weekend was a nice, lazy weekend. Sometimes you just need a weekend of binging on Netflix and comfort food.

When we lived in California, it seemed like Jalapeno Poppers (or Jollies as my Husband calls them) were a weekend staple with wine and friends. Entertaining weekends and "Comfy Weekends" aren't quite the same thing. But when you are eating the same food you would serve for both occasions, it can take you to a nostalgic place.

At this point in our lives we are still establishing those kind of connections here, so as you can imagine, it's usually just us. In comfy pants. And lots of ice-cream and wine. But I digress.

On a good note that translates to MORE JALAPENO POPPERS FOR ME!

So I decided to post a step-by-step guide to how I make Jalapeno Poppers. I do have some variations, which I mention at the end of the post, but all are equally delicious.

Ingredients:
5-6 large (4-5 inch) Jalapenos
1 block of cream cheese 
1 clove of garlic
1 pack of thin sliced bacon (thick is okay, just a longer cooking time)
1 cup of shredded cheese
10 mushrooms, diced
Olive Oil
pepper to taste
kosher salt to taste
1/2 tsp paprika
1/2 tsp tumeric

Equipment:
I have my trusty Santoku knife, but my favorite kitchen hardware for the removing seeds and veins of jalapenos is a melon baller.
I typically line a baking sheet with aluminum foil and let the poppers cook on top of a cooling rack. It helps the little guys cook, and helps with clean-up.

Let's get started!

Turn a pan on medium heat on the stove.

Mince your garlic.

Dice up your mushrooms.

Once the pan is warm, add olive oil. When the oil is heated, add the mushrooms and garlic. Enjoy the sizzle. Stir. Add a pinch of kosher salt. Let it cook until the mushrooms are brown, and have reduced in size.


Start halving your jalapenos, and taking out the seeds and veins (unless you want these puppies hot! then leave them).


When the mushrooms have cooked, remove from heat.

Add cream cheese to a bowl, add the mushrooms (which will incorporate easier as they are warm).  Add the paprika, turmeric, and pepper. Mix until combined. Add shredded cheese.


Start filling up your poppers, and I mean LOAD 'EM UP!


Then when they are all full, wrap with bacon! Note: if you have big jalapeno poppers, the will easily use 1 piece of bacon a piece. If they are smaller, or if you dare to use Serrano Chilies, well, use a kitchen scissors to cut the bacon strips in half before wrapping for Maximum Bacon Usage.


I baked these guys up for 30 minutes at 390 degrees.  I rotated the baking sheet once, halfway through the cooking time.


These turned out to be cheesy, crispy, savory perfection. Paired with a couple of Yuenglings, who wouldn't be content?


Lets talk about alternative fillings. Are you not a fan of mushrooms? That's okay. I think artichoke hearts, minced up and seared in olive oil, would be just as fabulous (and add a little bit of a buttery texture. Yummo!) Or even artichoke hearts and chopped spinach! If that is too fancy, try simply caramelizing some shallots and garlic.  I think the "extra fillings" add a little extra something special. You can add whatever spices you want too. Just be careful with Cayenne ad Chili powder. I added them one, and it made pretty fire-y poppers. They were almost too painful.


Looking for something lighter than bacon but with some crunch?

Typically, I usually skip the bacon and just coat the top of the popper with Panko Bread Crumbs - for that crunch without the fat of a deep fryer. When we do have bacon in the house - all bets are off though. It usually is devoured pretttttty quickly.


Well, I hope you enjoyed this step by step how-to for Jalapeno Poppers. It's not too labor intensive, and it's so worth it in the went.

And you don't need to pair these with just beer; White Wine (Viognier and Pinot Gris) or Red Wines (Cabernet Sauvignon, Syrah, Zin, Barbera, Sangiovese) pair excellently. I know. Because I drank just about everything with them.

Salute!


Monday, March 17, 2014

Recipe: Gouda Quesadillas

The other day I made tortillas at home. I made them with the visions of grandeur that I would take one of my favorite grilled cheese recipes, and stuff it in a tortilla shell, and stuff my face with zero amount of shame.


Gouda Grilled Cheese was birthed after a night of copious amounts of wine,  a left over cheese platter and sour dough bread.


Whenever I had any leftover Gouda in the house  that made it to a Saturday or Sunday morning, I would make sure to have sourdough bread.  The assembly was simple - butter the outsides of two slices of sour dough bread, which are sandwiched around Gouda (reaaaaaal good Gouda).  Sear in a panini press until golden, crisp, and melty.

Ingredients:
Sourdough Bread or Tortillas
Gouda
Jam

Place your sliced Gouda into your tortilla. Fold in half (or top with another tortilla). Close your panini press, or flatten with your spatula on a hot griddle. Flip. Sear. Once golden and melty (and believe me you will have melty Gouda everywhere!) plate and spread with your favorite jam or preserves.

Then, spread the top with your favorite jam; mine being a seedy raspberry preserve. Lastly. Devour every last bite and leave no evidence behind.

Indulgent, but still on the lighter side. And an excellent breakfast!

Now take that thought process and apply it to tortillas. Mmmm Mmmm Mmmm!


Wednesday, March 12, 2014

Recipe: Flour Tortillas

We aren't much of a "Sliced Bread" household. Maybe it started around the time I was adding whole grains and more fiber to my diet, that my IBS symptoms flared up. And maybe its when the Husband and I went *almost Paleo* for a year in 2012, that we really gave it up. But I do have a soft spot for warm fluffy tortillas, and I would cheat being Paleo for a crisp, panini pressed tortilla stuffed with cheese.


In fact, my typical "grilled cheese" is a quesadilla. But really, who doesn't love pan seared bread with melty, go-ey, savory cheese? If you don't, the existence of your soul may be questionable.

Lately, and ironically when the Subway Plastic Bread scandal started, I stopped buying my "enriched carbohydrate" products, or, well, breads. While I am no longer Paleo driven, I am what I think of as "Carb Conscious. (really, it's hard to be 100% paleo when you have IBS - Coconut Flour and Coconut Oil are not the best friends of your digestive track, and after my first attempt at biscuits with coconut flour, I was in a bought of nausea so intense I would have through I was stuck on a merry-go-round of doom).

What do I mean by "Carb Conscious"? Well, there is a distinct difference between eating a bunch of processed Breads, cakes, cookies, and chips, vs preparing and eating whole grains yourself. Examples: I will eat sweet potatoes, rice, or lentils, in substitute of sliced bread and butter. Now this isn't all the time. Sometimes, we give in. Sometimes, nothing quite compares to a hot dog bun at a summer's BBQ. Sometimes, hot bread and butter are the exemplary complements of that bottle of wine you are downing.

And if you are going to eat baked goods - why not skip the cruddy preservatives and extra salt and funky stuff and make your own, fresh, fluffy, soft bread.

Tortilla's are a great place to start for people who definitely don't that the patience for yeast based dough.


A Taste of Home has this awesome olive oil tortillas recipe. They are soft, fluffy, and savory. And the Husband devoured them last Saturday with breakfast burritos. Literally. They were all gone.


The recipe makes 8, 6 inch tortillas. I think I will need to double the recipe to make "burrito" or "Husband size" tortillas, because he has always been a fan of a bigger shell. Start to finish, cook time was less than an hour. And while the cost of buying grocery store  tortillas may even itself out in a "to make or to buy" analysis, I know exactly what is in these tortillas (and if you are afraid of GMO flour, you can always find/order a brand that is Non GMO.)

Even if you aren't the most avid cook, try making homemade tortillas. Really. Just try. Because, like in most cases involving food, nothing beats fresh off the skillet.


Monday, December 16, 2013

Winter Vegetables: Kale

Kale is really an all star vegetable right now. It's super popular, and in your face, but I feel like in order to eat this veggie, you have to make it work for you. I see tons of recipes pairing it with all sorts of things, which is great. But I find that I have better luck using new produce when I integrate it in recipes I already know and love.

Once you have your kale cut in manageable portions (or bites) and cleaned of its thick tough stems, you can do anything with it. 

I like to pan sear kale in garlic and olive oil for a minute and then cover and let the steam cook it all the way through.  If I don't pan sear it, I soften it in boiling water for a few minutes- not too long; you don't want the water leeching the nutrients!

Kabocha over warmed Kale with Parmesan and Sunflower Seeds


Wednesday, December 4, 2013

Recipe: Aztec Slow Cooker Hot Cocoa

It's that time of year, spice scented candles, hot cocoa, soft knitted sweaters and blankets. 

I have been making mad use of my slow cooker of late. This recipe from Better Homes and Gardens is perfect and very easy. I even substituted the milk with almond milk (but kept the half and half) and it is thick, decadent, and warmly spiced. I also don't have espresso powder, but I keep frozen coffee cubes in the freezer and that blended perfectly. 

The result is a thick, creamy cocoa, begging to be spiked with Baileys or Rum.